
DJI Drone Repair UK: Repair or Replace Your Drone?
Published
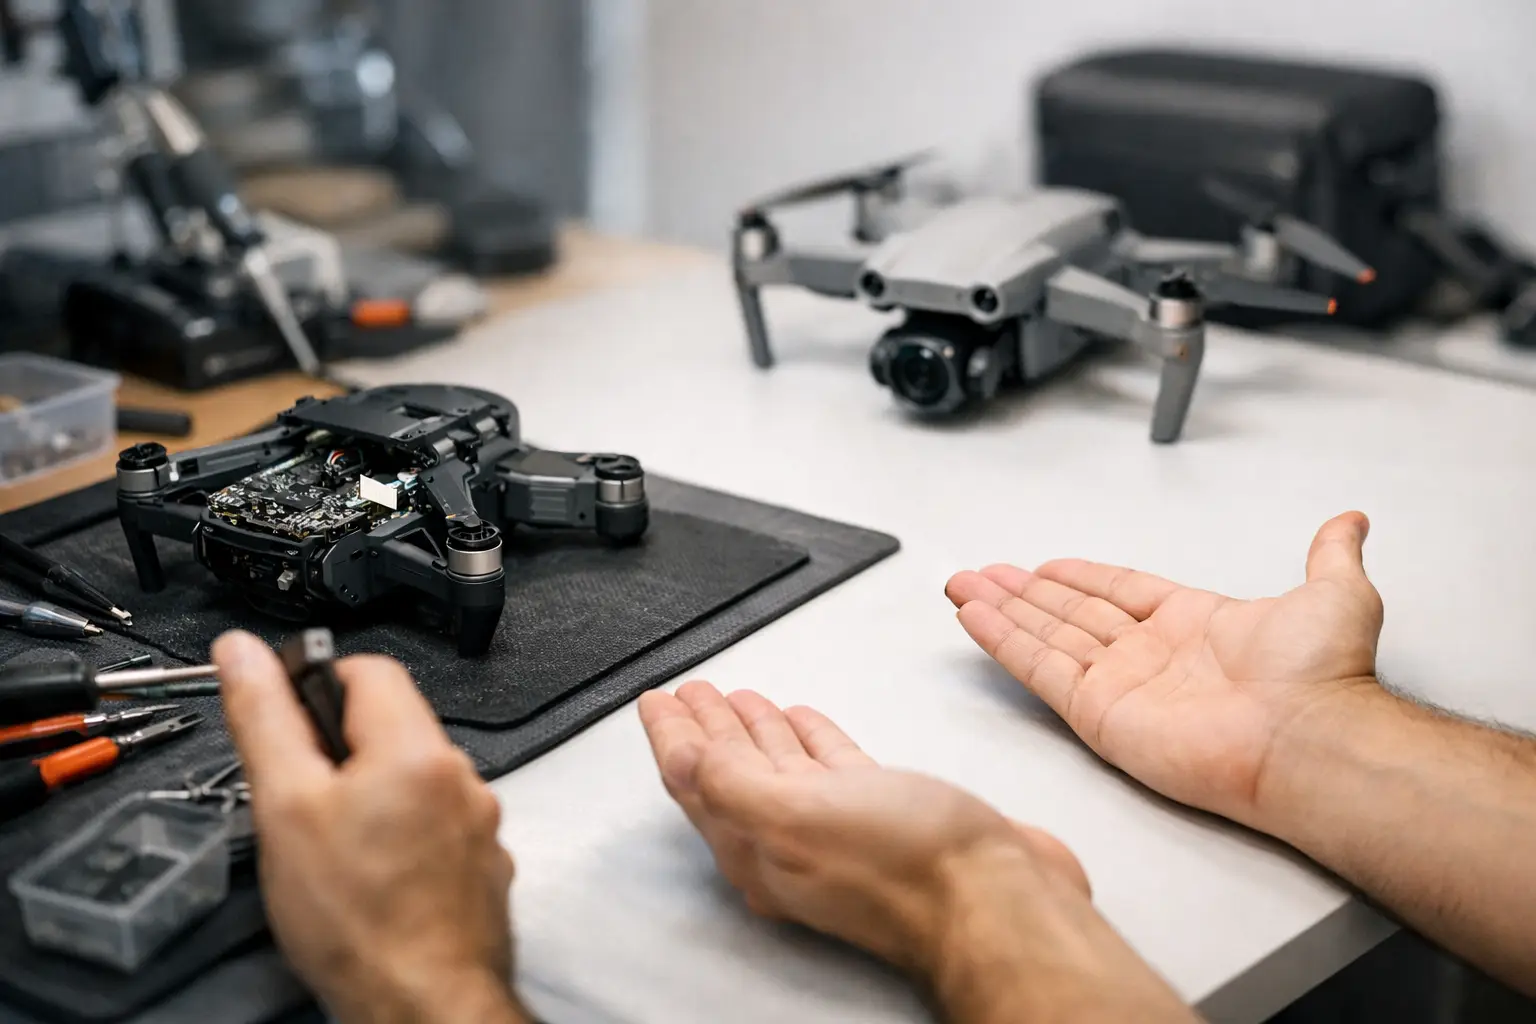
Need DJI drone repair UK support? Learn how damage is assessed, what to do after a crash, and when a professional repair is the sensible choice for you.
A minor impact can leave a DJI drone looking perfectly serviceable while hiding a cracked arm, stressed motor mount or damaged gimbal cable. That is why DJI drone repair UK support should start with a proper assessment, not a quick test flight in the garden. The right decision protects the aircraft, the people around it and the value of your equipment.
For some owners, repair is the obvious route. A current camera drone with a healthy battery system, sound airframe and a replaceable damaged component is often well worth restoring. In other cases, repeated damage, water ingress or an older platform can make replacement the more sensible investment. The key is knowing what has failed, what is recoverable and what the repair means for the drone's reliability afterwards.
What to do immediately after a drone crash
Start by powering the aircraft down and removing the battery if it can be done safely. Do not restart it simply to see whether it still flies. A drone can power on normally despite damage to its propulsion system, sensors, gimbal or internal connections.
Check the battery before anything else. If it is swollen, hot, split, leaking or smells unusual, move it away from flammable materials and do not charge or use it. Battery damage needs careful handling and should never be treated as a minor cosmetic issue.
Then inspect the aircraft in good light. Look closely at the propellers, propeller mounts, arms, motor housings, landing points, camera and gimbal. A chipped propeller is easy to identify, but hairline cracks around folding joints and motor mounts can be less obvious. Also check for grit, grass or moisture around the motors and gimbal assembly.
If the drone landed in water, do not charge the battery or power the aircraft back on. Moisture can create corrosion and electrical faults that become worse when power is applied. Drying the exterior is not the same as confirming the electronics are safe.
Take photographs of the damage and make a note of what happened. The height of the impact, surface type, whether the drone struck an obstacle and any warning messages shown in the app can all help establish the likely fault. This information also makes a repair assessment more efficient.
DJI drone repair UK: what a professional assessment should cover
A proper repair assessment goes beyond identifying the part that looks broken. The visible damage may be only one result of the impact. For example, a damaged arm can also affect motor alignment, while a gimbal knock may have strained the camera mount or ribbon cable.
The aircraft should be checked structurally, mechanically and electronically. Structural checks consider the shell, arms, hinges, mounting points and any signs of stress around screws or joints. Mechanical checks focus on motors, propeller attachment, gimbal movement and unwanted resistance. Electronic diagnostics can identify errors linked to sensors, the camera, gimbal, propulsion system or flight control functions.
Calibration and controlled functional checks matter after repairs too. A drone that starts up is not automatically ready to fly. It needs to respond correctly to control inputs, report no relevant errors and operate as intended before it returns to normal use.
This is particularly important for pilots using a drone for paid work, inspections, mapping or content production. A failed job, lost footage or forced landing can cost more than addressing the repair properly at the outset.
Repair or replace: make the decision on total value
The lowest immediate cost is not always the best value. A replacement propeller may be all that is needed after a gentle landing, while a hard impact involving the airframe, camera and sensors calls for a more careful calculation.
Repair generally makes sense when the aircraft is relatively current, the damage is isolated and the core systems remain in good condition. It can also be the better choice when you already own compatible batteries, controllers and accessories that still suit your requirements.
Replacement becomes more attractive when the repair scope is extensive, the drone has suffered repeated impacts or water damage, or the platform no longer meets your needs. A creator who has outgrown their camera setup, or a professional operator who now requires a more capable workflow, may be better served by putting repair value towards an upgrade.
Consider the complete ownership picture: the condition of batteries and controller, availability of suitable accessories, expected future use and the cost of downtime. If the drone is essential to your work, a hire solution may also help maintain continuity while your equipment is being assessed or repaired.
Do not overlook pre-owned equipment as part of this decision. For the right buyer, a professionally assessed pre-owned drone can be a practical route back into the air without paying for features they do not need.
Faults that should not be ignored
Some problems are clear reasons to stop flying until the aircraft has been checked. These include a motor that feels rough when turned by hand, an arm that flexes differently from the other side, a gimbal that catches or shakes, persistent app warnings, visible battery damage or an aircraft that will not hold a stable hover.
A propeller strike also deserves more attention than many pilots give it. Replacing the propeller is essential, but the strike may have transferred force into the motor, arm or mounting assembly. Any vibration after fitting new propellers is a warning sign, not something to fly through.
Likewise, do not try to force a jammed gimbal back into position. DJI camera systems use precise mechanical components and flexible cables in a compact space. Forcing movement can turn a repairable alignment issue into a more significant replacement job.
When a DIY repair is reasonable
There is a place for sensible owner maintenance. Replacing genuine compatible propellers, cleaning light surface debris and fitting straightforward accessories are normal parts of drone ownership. Follow the aircraft instructions, use the correct parts and inspect the drone afterwards.
Internal repairs are different. Opening the airframe, replacing cables, repairing a gimbal, working near motors or handling damaged batteries carries more risk. It can also make fault diagnosis harder if connectors, screws or assemblies are disturbed before assessment.
The practical rule is simple: if the job affects the aircraft's structure, propulsion, camera, sensors, electronics or battery system, professional inspection is the sensible route. A premium drone is a precision flying camera, not a device to guess at after an impact.
Preparing your drone for repair
Before booking a repair, remove removable accessories that are not relevant to the fault unless asked to send them. Keep the controller, batteries, charger and storage media available, as they may help with diagnosis if the issue involves connectivity, charging or recorded error information.
Back up any footage you need, where possible. If the aircraft can be safely powered on, record the exact error messages and note the firmware version. Do not attempt updates or repeated power cycles to clear an issue after a crash. Those actions may not solve the underlying problem and can complicate the fault trail.
Be clear about the symptoms. Explain whether the issue began after a collision, rough landing, water exposure, transport damage or a gradual decline in performance. Good repair information saves time and supports a more accurate recommendation.
Drone-Sales provides repair and maintenance support as part of a wider ownership service, helping customers move from assessment to repair, replacement or upgrade with advice based on the condition of the equipment and intended use.
Preventing the next repair bill
Most avoidable damage starts before take-off. Inspect propellers and arms, confirm the battery is secure, check the take-off area and give the drone time to acquire the information it needs before flight. Keep the aircraft within the operating limits and avoid treating obstacle sensing as a substitute for sound judgement.
Transport matters as well. Use a case that supports the drone and gimbal properly, avoid leaving batteries loose with metal items, and inspect equipment after long journeys. For professional users, a routine maintenance record makes it easier to spot recurring faults and plan servicing around operational demand.
A repair decision should leave you confident in the next flight, not merely pleased that the drone powers on. Whether the answer is a targeted repair, a replacement aircraft or an upgrade through trade-in, choose the route that restores dependable use and protects the investment you made in flying well.