
Choosing the Right Drone for Roof Inspections
Published
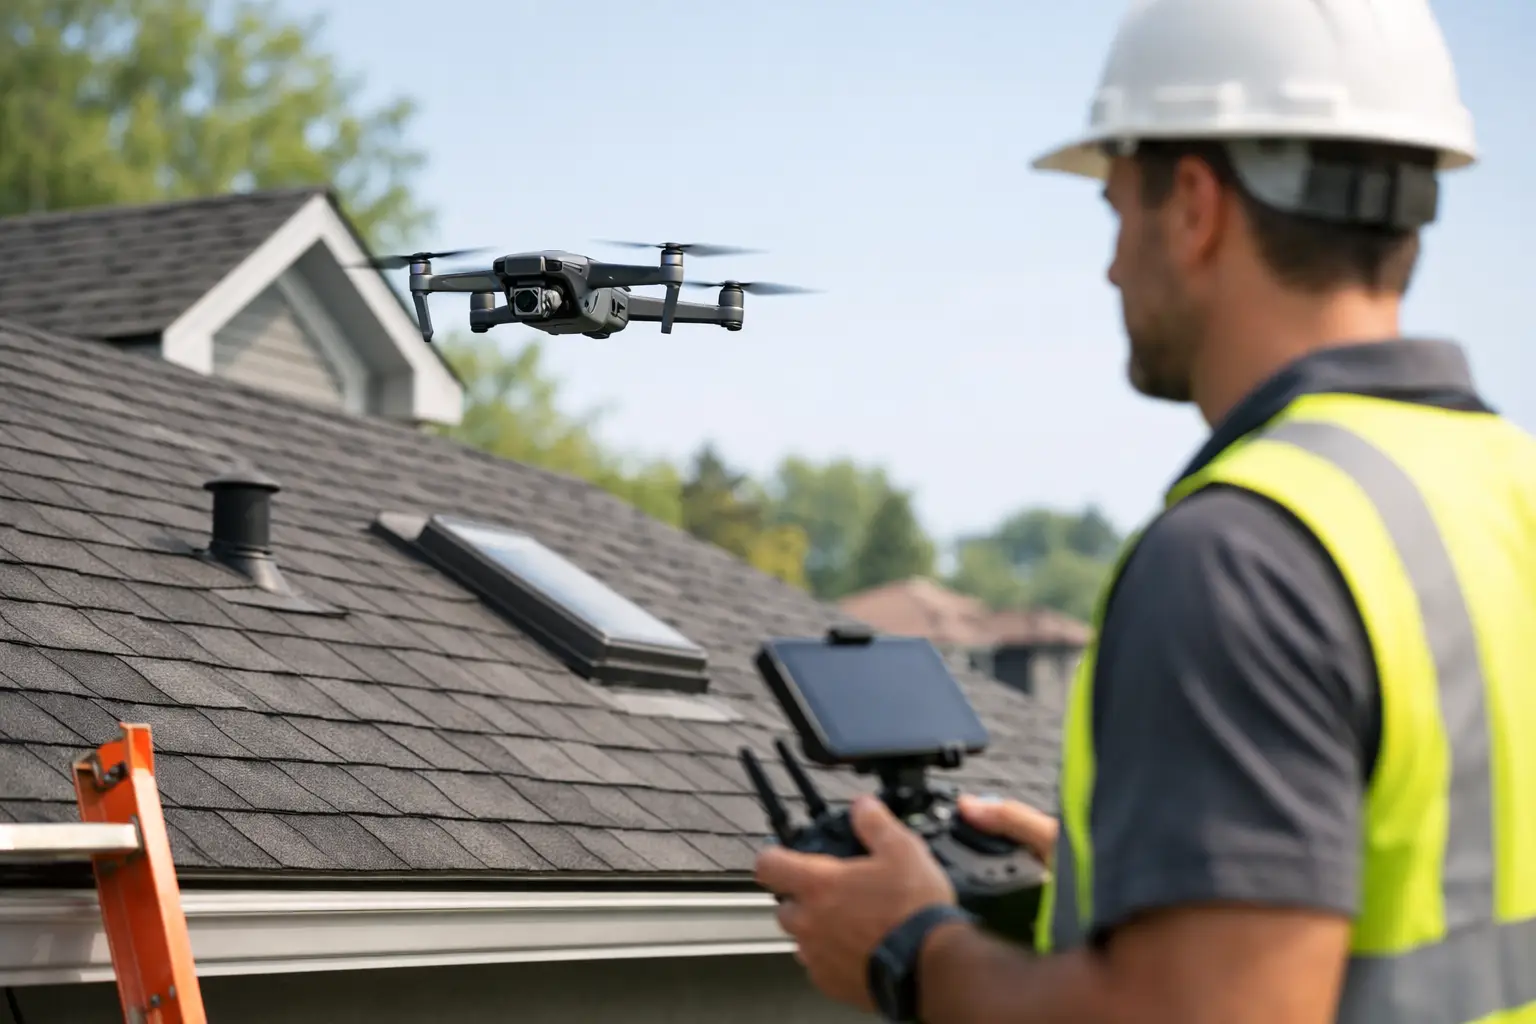
Choose a drone for roof inspections with the camera, flight safety and workflow features needed for clearer surveys, safer decisions and better reporting.
A loose ridge tile, blocked gutter or damaged flashing can be difficult to confirm from ground level and costly to investigate from a ladder. A drone for roof inspections gives surveyors, roofing contractors, facilities teams and homeowners a safer way to capture clear visual evidence before deciding what work is required.
The right aircraft does not simply produce attractive aerial footage. It must let the pilot position the camera accurately, inspect details without getting unnecessarily close to the building, and create images that are useful to the person pricing, planning or approving the repair. That changes the buying decision considerably.
What a drone for roof inspections needs to do
Roof inspection work is primarily about visual clarity and controlled flight. The pilot needs to see individual areas of concern - cracked tiles, lifted slates, damaged mortar, worn membrane, gutter debris and defects around chimneys, valleys or roof lights - while maintaining a sensible stand-off distance from the structure.
Camera quality matters, but resolution alone is not the full answer. A good inspection image needs sharp detail, dependable exposure and sufficient dynamic range to handle the contrast between bright sky, dark roof surfaces and shaded elevations. A camera with a mechanical shutter can also be valuable where a professional workflow involves mapping or capturing a large number of systematic stills, although it is not essential for every close visual inspection.
A gimbal with reliable tilt control is equally important. Roof defects are rarely located on one convenient flat plane. The ability to frame steep pitches, gutters, parapets and vertical features precisely makes the review quicker and reduces the need for repeated flights. For some projects, a camera that can also look upward is useful when examining the underside of eaves, soffits and overhangs.
Flight stability should be treated as an inspection feature, not a luxury. Wind often behaves unpredictably around ridgelines and taller buildings. A capable aircraft with accurate positioning, responsive controls and a clear live view helps the pilot hold a safe position while concentrating on the inspection task. It does not remove the need to assess conditions properly. If wind, rain or poor light will compromise safe flight or image quality, the correct decision is to postpone.
Choose the aircraft around the job
For occasional domestic roof checks, a compact camera drone may be the sensible route. It is easier to transport, quicker to prepare and capable of collecting useful photographs and video when the property is accessible and the required output is a straightforward condition check. It can be a practical tool for documenting a problem before arranging repairs or checking completed work from a safe viewpoint.
Professional roofing, surveying and property-management teams usually need more than an occasional overview. They may be capturing evidence across multiple sites, producing repeatable reports or working around complex commercial buildings. In those cases, an enterprise platform can justify its higher investment through stronger camera options, more purposeful flight planning, accessories and a workflow built for regular operational use.
The distinction is not simply consumer versus enterprise. A small, highly portable aircraft can be the better commercial tool for rapid call-outs and tight access. A larger platform may be more appropriate when inspections demand thermal imagery, wider operational flexibility, more detailed data collection or specialist payloads. The right choice depends on the type of properties, the frequency of work, the reporting standard and the experience of the team operating it.
When thermal imaging adds value
A thermal camera does not identify every roof fault, and it should not be treated as a replacement for a competent building assessment. It can, however, help reveal temperature differences that warrant closer investigation. Depending on the building, conditions and survey method, that may support checks for potential moisture ingress, insulation issues or heat loss.
The limitations matter. Thermal results are heavily influenced by weather, solar loading, internal heating, materials and the time of day. A thermal inspection is most useful when it is planned around a clear question and interpreted by someone who understands both the camera data and the building fabric. For a standard broken-tile survey, a high-quality visual camera is usually the priority.
Features that improve inspection results
Obstacle sensing is helpful around buildings, but it is not a licence to fly close to walls, roofs or cables. Sensors may not detect fine branches, wires, reflective surfaces or every part of a structure. The safest workflow is to maintain deliberate separation, fly smoothly and use a route that preserves an exit path if conditions change.
A bright, clear controller display can make a material difference on site. Roof inspections often take place in open daylight, where it is harder to judge focus and exposure. The ability to review images at useful scale before landing can prevent a return visit caused by an avoidable missed detail.
Battery planning also deserves attention. Inspection flights tend to involve hovering, careful repositioning and several camera angles rather than fast point-to-point travel. That can use more energy than expected. Having sufficient batteries, charging provision and a defined landing point supports a calmer operation and avoids rushing the final part of a survey.
For regular users, accessories are part of the system rather than an afterthought. Spare propellers, a suitable carry case, additional batteries, charging equipment and storage for image files all contribute to reliable work. A minor propeller strike or an unplanned delay should not automatically end a booked inspection day.
A practical roof inspection workflow
The strongest inspection output begins before take-off. Confirm the purpose of the visit: is the goal to identify visible storm damage, record a roof’s overall condition, check a repair, or gather images for a quotation? That question determines the camera angles, the areas to prioritise and the level of detail required.
Start with wide establishing images that show the property and each roof elevation. These provide context when the images are reviewed later. Then work methodically through the roof, capturing closer stills of ridges, hips, valleys, roof penetrations, flashings, gutters and any visible defects. Use consistent angles where possible, particularly if the inspection may be repeated after repairs.
Video can be useful for giving a client or building manager an immediate sense of the site, but still images are often better evidence for reports because they can be reviewed, labelled and compared. Capture both where they serve a purpose, rather than recording long footage that nobody will have time to examine properly.
After landing, review the files before leaving site. Check that key areas are in focus, correctly exposed and clearly identifiable. Name and organise files by property, elevation and issue, then retain the original images alongside any annotated versions. This is where a drone inspection becomes a usable professional record rather than a collection of aerial photographs.
Safe and lawful operation in the UK
A roof inspection creates specific hazards. Buildings can generate turbulence, while chimneys, satellite dishes, cables, trees and neighbouring properties can limit safe manoeuvring room. A careful pre-flight assessment should consider the site, weather, people nearby, take-off and landing area, emergency options and the planned flight path.
UK drone rules apply to inspection work as they do to recreational flying. The operator and remote pilot must ensure they meet the requirements that apply to the aircraft and operation, including registration, competency and operational limitations where relevant. Rules and categories can change, so check current CAA guidance before flying rather than relying on an old social-media post or a previous project.
Maintain visual line of sight, respect privacy, avoid flying where you do not have a safe and lawful basis to operate, and do not allow the urgency of a repair request to override sound judgement. Where a job falls outside straightforward operating conditions, professional advice, suitable planning and the appropriate permissions may be needed.
Buy for support as well as the aircraft
For a serious inspection tool, the purchase decision should extend beyond the drone itself. Consider who can advise on the most suitable camera configuration, supply genuine UK equipment, help with accessories, support repairs and assist when it is time to upgrade. That is especially relevant for businesses that cannot afford an aircraft to sit unused after an incident or technical issue.
Drone-Sales supports customers across the ownership cycle, from selecting consumer and enterprise aircraft to maintenance, repairs, hire, consultancy and trade-in options. For a first purchase, that specialist support can be as valuable as choosing the right specification on day one.
A well-planned roof inspection does not need dramatic flying. It needs a stable aircraft, a clear brief, disciplined image capture and the confidence to stop when conditions are not right. Choose the drone around that standard, and each flight can provide evidence that leads to better maintenance decisions.